Master the Art of Homemade Jam with Our Step-by-Step Guide

Making homemade jam is a delightful and rewarding process that allows you to savor the flavors of your favorite fruits all year round. Whether you're a seasoned cook or just starting out, mastering the art of homemade jam is easier than you think. With our step-by-step guide, you'll be able to create delicious jars of sweet and tangy goodness in no time. So roll up your sleeves, grab your apron, and let's dive into the world of homemade jam!
Gather the necessary ingredients and equipment
To start your jam-making journey, it's essential to gather all the necessary ingredients and equipment. Here's what you'll need:
Ingredients:
- Fresh fruits of your choice (such as strawberries, raspberries, or peaches)
- Granulated sugar
- Lemon juice or another acidic ingredient (like citric acid)
Equipment:
- Large pot or saucepan
- Wooden spoon or spatula
- Jam thermometer (optional but helpful)
- Sterilized jars with lids
- Funnel for pouring the jam into jars
- Clean cloth or paper towels for wiping jar rims
Having everything ready before you begin will ensure a smooth and efficient jam-making process. So let's move on to preparing the fruits for making delicious homemade jam!
Prepare the fruits for jam making
Preparing the fruits is a crucial step in making homemade jam. Start by selecting ripe and flavorful fruits, ensuring they are free from any blemishes or mold. Wash the fruits thoroughly under running water to remove any dirt or residue. For berries, remove the stems and any leaves. For larger fruits like peaches or apples, peel and core them before cutting them into small pieces. If using citrus fruits, grate the zest and squeeze out the juice. Remember to discard any seeds or pits. Properly prepared fruits will enhance the flavor and texture of your jam, so take your time to ensure they are ready for cooking.
Cook the fruits with sugar and acid
Once you have prepared your fruits, it's time to cook them with sugar and acid. The sugar helps to sweeten the jam and acts as a preservative, while the acid helps to balance the flavors and aid in the setting process.
In a large pot, combine your prepared fruits with the specified amount of sugar and acid according to your recipe. The sugar-to-fruit ratio will depend on the type of fruit you are using, so be sure to follow the instructions carefully.
Place the pot over medium heat and stir gently until the sugar has dissolved completely. As the mixture heats up, it will start to bubble and release its natural juices. Continue to cook, stirring occasionally, until the fruits have softened and broken down.
The cooking time will vary depending on the type of fruit you are using, but it usually takes around 20-30 minutes. Keep an eye on the mixture and adjust the heat if necessary to prevent it from boiling over.
During this process, you may notice that a foam forms on top of the mixture. Skim off any foam that accumulates with a spoon or ladle. This foam contains impurities that can affect the texture and taste of your jam.
As you cook the fruits with sugar and acid, their flavors will intensify, creating a rich and delicious jam. The mixture will also thicken as it cooks due to pectin in both fruit and added acid.
Once your jam has reached a thick consistency that coats the back of a spoon, it is ready for testing for doneness.
Test the jam for doneness
Once the fruits have been cooked with sugar and acid, it is important to test the jam for doneness. To do this, simply take a small spoonful of the hot jam and place it on a chilled plate. Allow it to cool for a few seconds, then run your finger through the jam. If the surface wrinkles and holds its shape, then the jam is ready. If not, continue cooking for a few more minutes and test again. It's crucial not to overcook the jam as it can become too thick and lose its natural flavor. Testing for doneness ensures that you achieve the perfect consistency for your homemade jam.
Sterilize the jars and lids
To ensure the safety and longevity of your homemade jam, it is crucial to sterilize the jars and lids before filling them. Start by washing the jars and lids thoroughly with hot soapy water. Rinse them well to remove any soap residue. Next, place the jars and lids in a large pot filled with water. Make sure they are fully submerged. Bring the water to a boil and let it simmer for about 10 minutes. This will kill any bacteria or microorganisms that could spoil your jam. Carefully remove the jars and lids from the boiling water using tongs or a jar lifter, being cautious not to touch the inside of the jars or lids with your hands. Place them on a clean towel or rack to air dry completely. Sterilized jars provide an airtight environment for your jam, ensuring its freshness and flavor are preserved for months to come.
Fill and seal the jars with the jam
Once your jam has reached the desired consistency, it's time to fill and seal the jars. Carefully ladle the hot jam into each sterilized jar, leaving about 1/4 inch of headspace at the top. Use a clean, damp cloth to wipe away any spills or drips on the rim of the jar.
Next, place a lid on each jar and screw on the bands until they are fingertip tight. Be careful not to overtighten as this can prevent air from escaping during processing.
To ensure a proper seal, process the filled jars in a boiling water bath for about 10 minutes. This will create a vacuum seal that keeps bacteria out and preserves the jam.
After processing, carefully remove the jars from the water bath using tongs and place them on a towel-lined countertop. As they cool, you may hear a satisfying "pop" sound indicating that the lids have sealed properly.
Allow the jars to cool completely before checking for proper seals. Press down on the center of each lid; if it doesn't move or make a popping sound, it is sealed correctly. Any unsealed jars should be refrigerated and consumed within a few weeks.
Label your jars with the date and type of jam before storing them in a cool, dark place such as a pantry or cellar. Properly sealed homemade jam can last up to one year if stored correctly.
Now that you have successfully filled and sealed your jars with delicious homemade jam, you can enjoy it spread on toast, stirred into yogurt, or used as a topping for desserts. The possibilities are endless!
Store the jars in a cool, dark place
After filling and sealing the jars with your delicious homemade jam, it's important to store them properly to ensure their longevity. Find a cool, dark place in your pantry or cupboard where the jars can be stored undisturbed. Avoid areas that are exposed to direct sunlight or fluctuating temperatures, as this can affect the quality of the jam. The ideal temperature for storing jam is between 50-70°F (10-21°C). Make sure the area is well-ventilated and free from any moisture. Remember to label each jar with the date of preparation so you can keep track of its freshness. By storing your jars in a cool, dark place, you'll be able to savor the flavors of your homemade jam for months to come.
Enjoy your homemade jam
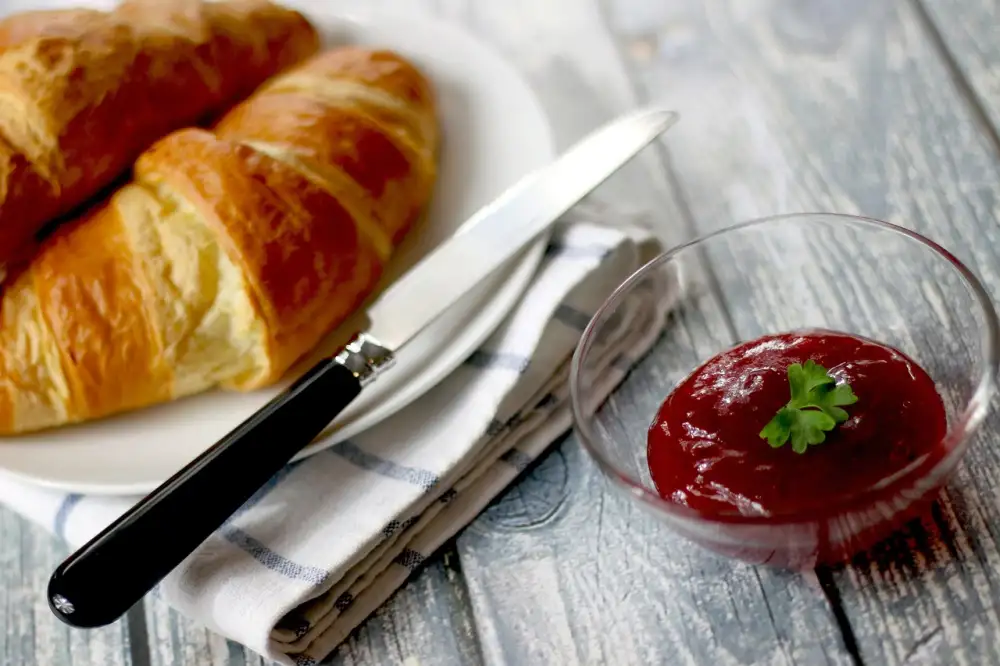
Once your homemade jam is ready, it's time to savor the fruits of your labor. Spread a generous dollop of jam on a warm slice of toast or use it as a filling for pastries and cakes. The vibrant colors and intense flavors will delight your taste buds. Share your creations with friends and family, or give them as thoughtful gifts. Homemade jam adds a special touch to breakfasts, snacks, and desserts. So sit back, relax, and enjoy the sweet rewards of your culinary masterpiece.
Conclusion: Making jam is a rewarding and delicious process. The satisfaction of transforming fresh fruits into a sweet and tangy spread is unmatched. Not only does homemade jam taste better than store-bought varieties, but it also allows you to customize flavors and experiment with different combinations. Whether you enjoy it on toast, in pastries, or as a gift for loved ones, the joy of spreading your homemade jam is unparalleled. So why not embark on this delightful journey and savor the fruits of your labor? Happy jam-making!
Published: 05. 12. 2023
Category: Food


